Your cart
Close Alternative Icon
Free Shipping On Orders Over $50! Free Shipping On Orders Over $50!

It Started With A Picture
Arrow Thin Left Icon Arrow Thin Right Icon
It Started With A Picture

Have you ever seen a photo in a magazine and thought, THAT'S WHAT I WANT! Of course you have. But sometimes that "want" is out of reach. Maybe it's too expensive or not the right dimensions, or not available in a fabric or finish you want. Well recently, one of my "Chics With Tools", Cindy, was able to make her magazine photo come to life, using her own two hands. 

Cindy wanted a king-size headboard. Her husband wanted it covered in ticking. (I love ticking!) She enlisted my help. It started with a consultation. I went over to her house, saw the space, taking note of the obstacles, dimensions, window heights, etc. Then using craft paper, I made a template. We taped it on the wall to get placement and height correct. Then I left the pattern with her with a list of materials to purchase:

  • 1 sheet of 3/4" plywood or OSB (wafer board)
  • 1 8' X 2"X 4"
  • Upholstery foam
  • Batting 
  • Upholstery fabric
  • Backing fabric


Using the pattern, Cindy's husband cut the headboard shape out of the OSB ahead of time. We could have done this at the workshop but it was nice to have it already done, especially since it was positively Arctic outside the day we were working. 

At the workshop, our first task was to cut and attach the legs, which were the 2" x 4's, to the front of the headboard.

Making a headboard
It may seem odd that we didn't put the legs on the back but we were trying to conserve space. Though the room is beautiful, it is not huge. Attaching the legs to the back would have pushed the headboard forward and left unnecessary dead space behind the bed.
Making an upholstered headboard
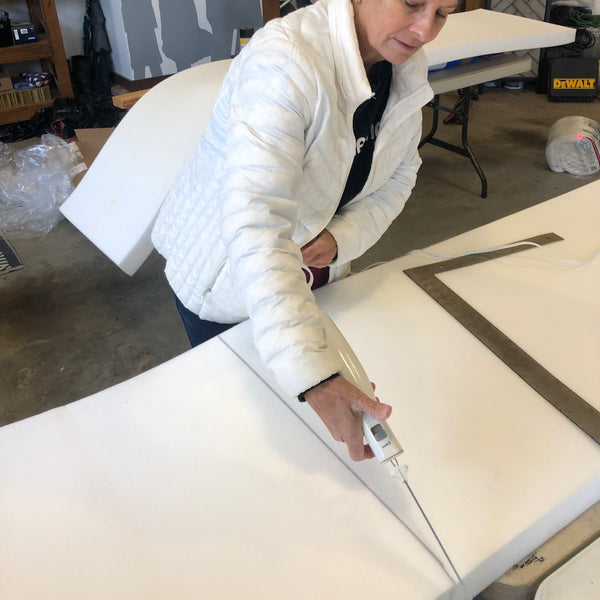
Next came the foam. Using an electric carving knife (which I have never actually used for meat), we trimmed the large sheets of foam to fit the headboard.
Making an upholstered headboard
Using spray adhesive, Cindy applied glue to both the foam and the wood. After they were  tacky, not wet, we put them together.
Making an upholstered headboard
Notice that we put foam on top of the leg. But to make the surface even, we had to slice the foam to accommodate the thickness of the 2" x 4".
Next, we flipped over the headboard so we could use the wood as a guide to trim off the excess.
Making an upholstered headboard.
To soften the profile and even out some imperfections, we also decided to bevel the edges. Here is a portion of a video I did a while back that explains the process.
To really make things smooth, we added a layer of batting. This also gave us a little practice in how to handle the curves of the headboard. The solution to any curves, by the way, is cutting notches or slices to help the fabric bend to your will.
Making an upholstered headboard
Where there were sharp corners, we added a little extra piece of batting to reduce wear on the fabric.
Upholstered headboard
After the batting was all stapled nicely, we were ready to tackle the fabric. Since the stripes ran the length of the fabric, not the width, it was necessary to piece it. We cut the middle section to the height we needed. Then a second piece was cut to height and split in half length-wise. We sewed one piece to one side and one to the other. This put the seams evenly on the sides which is more visually pleasing than having one down the middle.
making an upholstered headboard
Next up was the attaching the fabric. An important step was to find the center stripe and mark it. Then we found the center of the wood and marked it. These had to be lined up so the stripes stayed vertical.
Again, this video clip best explains it but the main idea is to work all four sides at one time.  Continue watching the video to see how to handle the corners.
This inward curve was a little tricky but with lots of notches and staples. Zoom in so you can see all of the notches.  
Upholstered headboard
Even though the back of the headboard was not going to be visible, we wanted to finish it off nicely. So we stapled some plain fabric to the back, turning the edges under. I completely forgot to take a photo of this step. I apologize.
Upholstered headboard
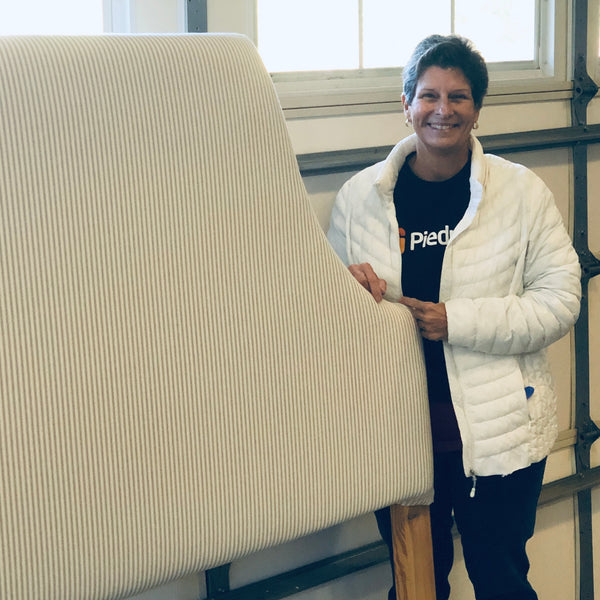
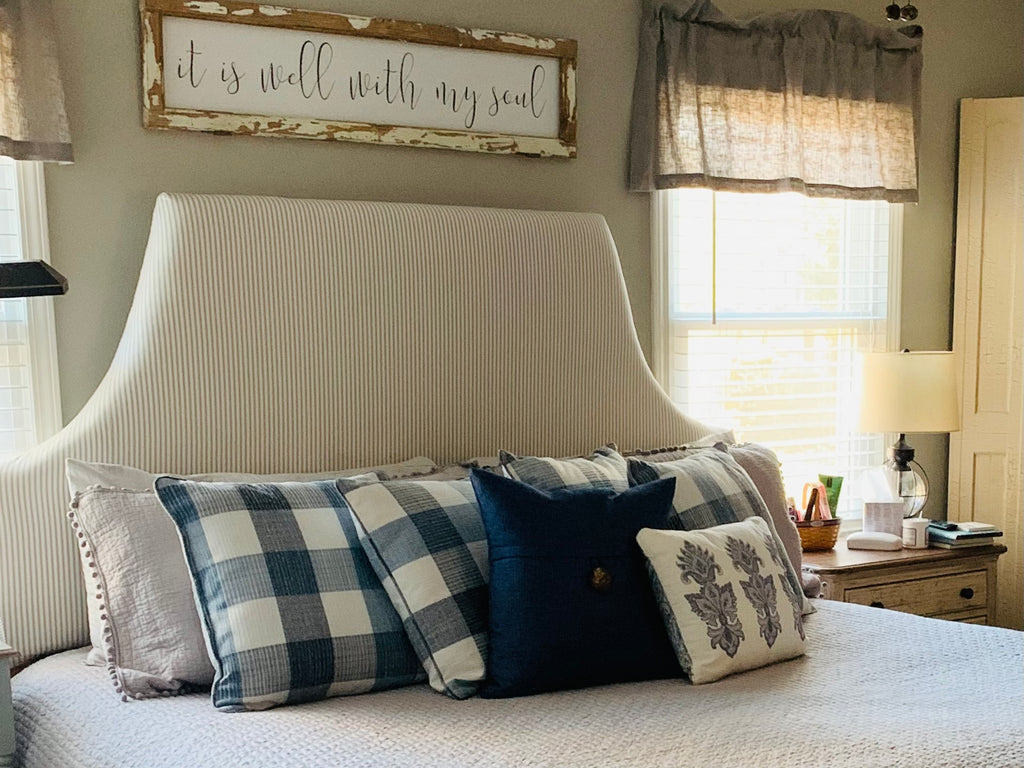
I am not going to lie. This was a big project but mainly because it was physically huge. It took two of us about six hours in the Bakery, working together the whole time.  But the result? Absolutely fantastic!
If you have an ambitious project that you are not sure how to tackle, reach out. We can do a private workshop!
Upholstered headboard

Comments on this post (1)

  • Mar 21, 2023

    I am thrilled with how this turned out! I would have NEVER attempted anything like this on my own, but I knew with Beth’s expertise she could help me make it happen. I love it!

    — Cindy Tucker

Leave a comment