Simple Steps for Stretching Canvases

Are there things in your world that are just too mysterious to tackle? I am not talking about the supernatural. I am talking about crafty things and DIY. One of the main purposes of my blog is to empower people and to take the fear out of projects. One said project is canvas stretching. You may ask, “Why in the world would I need to know how to do that?” Well, the fact is that the technique you use to do this job is the same you would use framing textile artwork, making a padded bulletin board, or upholstering seat cushions or headboards.
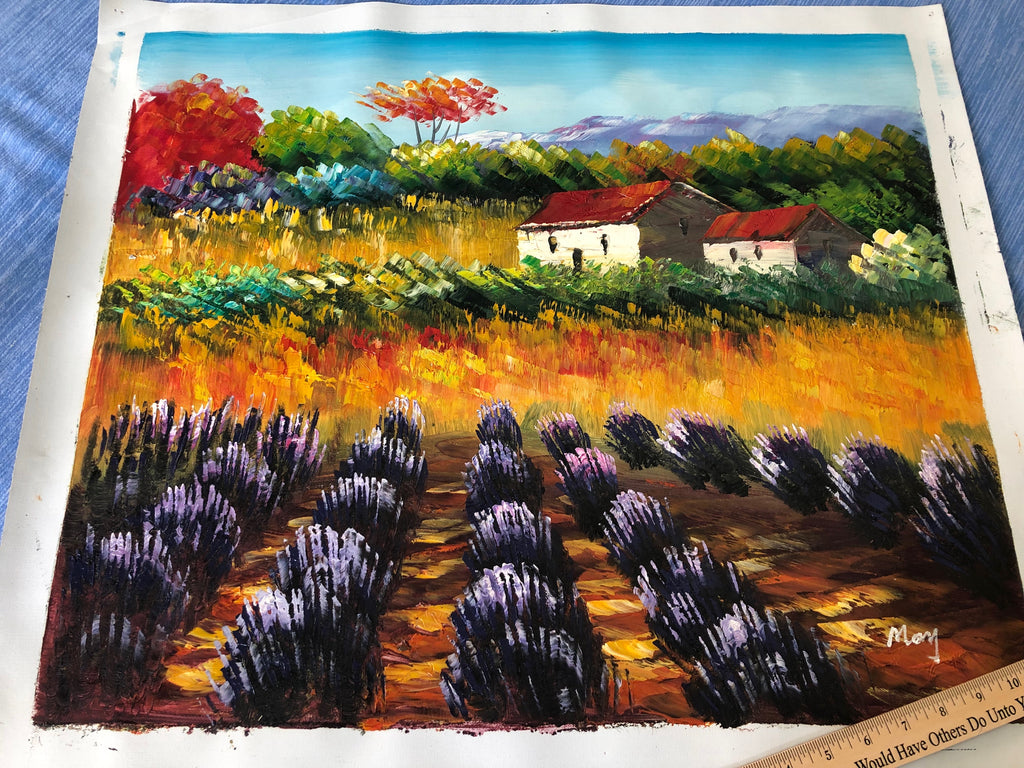
I have stretched lots of cloth items in my time, from a psychedelic needle point pillow cover my mom worked on for decades but never finished (a family joke) to 12-foot stage sets. But the reason I had to do it recently was because of a souvenir we bought. We love to collect original paintings. So, on our recent trip to England, we found an artist’s stall at Camden Market in London. There were tons of options but almost all were just loose canvas, not stretched, making them less expensive and very easy to transport on a plane. Imagine trying to carry a rigid 22 x 28 painting on board. Not ideal. But in this circumstance the issue is what to do with it once you get it home. You don't need to take it to a framer. You can absolutely do this yourself! Here are step by step instructions.
Tools and Materials:
Stretcher Bars
Wood Glue
Hammer and nails (optional)
Tape Measure
Staple Gun i
1/4" Staples
1. Measure the actual image of your picture. If you have flexibility with it, try to make your finished product a standard frame size. You will save a ton of money buying a ready-made frame. If you do not want to frame your piece, make sure the image wraps completely around the edges of the stretcher bars so you don’t see any raw canvas on the sides.
MOST POPULAR FRAME SIZES
5" X 7" 8" X 10" 11" X 14"
16" X 20" 18" x 24" 20" x 24" 24" x 36"
2. Purchase stretcher bars that match the dimensions of your painting, available at art supply stores, Hobby Lobby, or online. For artwork, stretcher bars are better than using just 1”x 2” pieces of wood from the home improvement store for three reasons: the joints will be tight, they are super straight, and they have a ridge that keeps the canvas off the flat surface of the wood. You don’t want to see the imprint of the framework on your beautiful piece. The only disadvantage I see is that you are a little limited on size.

3. Attach an end and a side together with glue, making an ‘L’. If the joint is super tight, you can stop there. If it is not, reinforce it with a couple of small nails. Repeat with the other two pieces. Then attach them all together. Once it is assembled, to be sure the angles are square, measure from corner to corner diagonally both ways. If the numbers don’t match, adjust the wood before the glue dries. If you don’t fix it, the finished product will probably not fit into a frame.

4. When the glue is completely dry, lay your painting face down on a clean, dry surface. Pull the canvas around to the back of the frame. With your staple gun, put one staple in one side, then pulling the canvas taut, do the same on the opposite side. Then put one staple in the center of the other sides.

5. After all four sides have a center staple. Flip the painting over to check to be sure it is centered the way you want it. If it is, turn it back on its face and continue.
Pulling the canvas toward you and away from the center, put a staple to the left and the right of the first staple. (Painted canvas is much stiffer than raw, so there will not be much give.) Do this on the opposite side, followed by the last two sides.
Keep working your way from the center out, evenly. Don’t do all of one side at once.

6. When you get to the corner, treat it like you are making your bed, the way your mama taught you (or maybe your drill sergeant).

7. If all goes well, the canvas will be tight. If not, don’t worry, just take out the offending staples and either tighten or loosen them.
Especially if doing a large raw canvas, sometimes it is difficult to get it tight enough. If that is the case, take a spray bottle of water and spritz the back. Since it is made of cotton, as it dries, the fabric will shrink. I would not recommend this with a painting. It would probably work but I would experiment with something not precious. There are also some wedges you can buy that do the same thing. I bought some just in case but did not need them so I cannot vouch for their efficacy or ease of use.
8. Pop it in a ready made frame. I got mine at a second hand store.

9. Admire your handiwork!
See, that wasn’t so hard! So, whether you are mounting an old t-shirt as art, a black velvet Elvis, or making a gigantic sign for homecoming (did that), following these simple steps will give you the results you want. Go for it!

Leave a comment